Sorry my mouseovers don’t work right now. I’ll fix them soon.
At Home Preparation
With your brightest (aperture 2.8 or better preferred) wide-angle (35mm or wider) lens on your dSLR, put the camera on a tripod outdoors, or indoors at a window with a distant view. Turn autofocus off; begin with your lens ring set at infinity. Point the camera at a contrasty subject like a car grill or license plate, or maybe a window frame (I used a row of mail boxes). Start the camera, turn on live view and press the magnify button twice to zoom the LCD screen to 10x. If you need to, scroll around using the multi-controller to a central spot with good contrast (Note: This is for a Canon 5D III, but other dSLR’s (or mirrorless) have similar controls). Grab the lens ring with the left hand and manually focus as best you can, and note the location on the ring. Spin the ring out of focus and do it again to see if the focus lines up in the same place. Check your work by examining the results on your computer at 1:1. If you’re confident you’ve nailed the focus, mark the spot on the lens ring with a Prismacolor or Sharpie metallic silver fine point tip marker.
In The Field
Procedure is the same, camera on tripod, etc. Remember to turn off auto-focus and remove the lens cap (duh). On some dark sky shoots, you may have a bright distant object, like a crescent moon, that your auto-focus will focus on. I prefer not to use this, though, with my auto-focus lenses, because I think manually focusing in live view is more consistent. Keep in mind we’ll be shooting wide open or maybe a stop down. We need the focus spot on. Anyway, the crescent moon makes a great target; it’s bright with sharp edges. After focusing on the moon, turn the auto-focus off for the rest of the shoot.
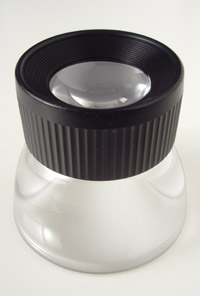
For manual focus, turn off auto-focus, set the aperture to wide open, point your camera at a bright star or planet (moon’s ok too if it’s out). Magnify the LCD to 10x as before, put the loupe on it for best results, and manually turn the ring until the star(s) are fine points of light. Consider locking the focus with mini (1”) gaffer tape so if you accidently touch the ring it won’t move on you.
That’s it for focusing — we should never blow focus on a night shoot again. For best image results, use a cable release, shoot RAW and turn on the camera noise reduction. Learn your camera controls by feel, and use a red LED headlamp to maximize your night vision.
(Note: Alternatives like shooting multiple exposures and dark shots, or using a star tracker, can be rewarding, but they’re more gear or they’re more work. As well, today’s dSLR and mirrorless cameras are so good at high ISO’s, the utility of the extra kit and/or multi-image post work is largely moot.)
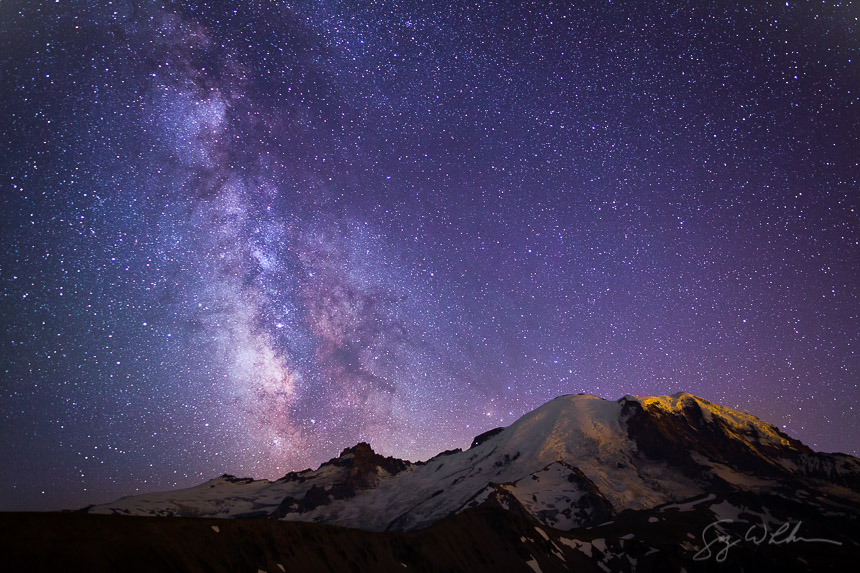
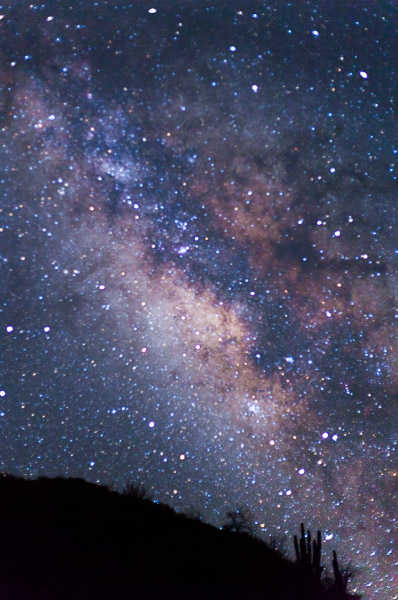
See my tip, Milky Way Photography 101, for some basics on shooting the Milky Way and more.