In days of pre-digital yore, outdoor photographers carried a bunch of filters. The essentials were warming, split-neutral density (ND) and polarizing. But with different filter thread sizes for various lenses, additional filters or adaptor rings were often required. Then to top it off, serious shooters carried as many as four split ND filters—or certainly at least two while backpacking. Today, the warming filter is irrelevant; the split filter superfluous. The polarizing filter, though, is indispensable.Warming filters were useful with film. They warmed overcast landscapes or deep shade, or revved up a dull sunset. With digital, warming can be applied with excellent results in-camera by boosting white-balance temperature, or—with even better outcomes—after-the-fact with software. Dispensing with the warming filter is a no-brainer.

Split neutral-density filters have half the filter glass darkened one to four stops, with two or three stops most typical. In use they compensate for tonal ranges that film or digital can’t handle—whenever you’re forced to choose between a blown-out sky or a dark foreground that will end up lacking detail. Split ND filters are usually rectangular, and are often sized to fit Cokin-P holders (up to 82mm filter threads). They are slid up and down to match the break in the scene between lights and darks—usually the horizon (skyline). The camera needs to be on a tripod, and sometimes for simplicity the filters are slid hand-held. In the digital world—again with the camera anchored on a tripod—it’s easy to shoot a frame exposed for the foreground, and a second one for the sky. Since both register the same scene, combining them using an adjustment layer in Photoshop (Elements 3 or later) is quick and easy. You save a bit on (often expensive and fleeting) field time, at a cost of extra work in the digital darkroom, but the darkroom results are generally superior. Gone are those black mountainsides (from uneven horizons) created in the effort to get dramatic sky tones. So scratch the ND filters.
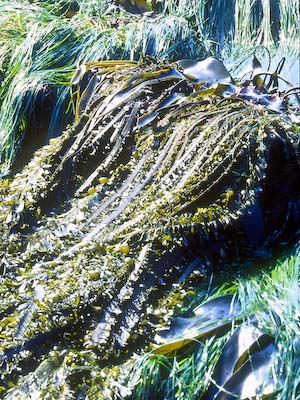
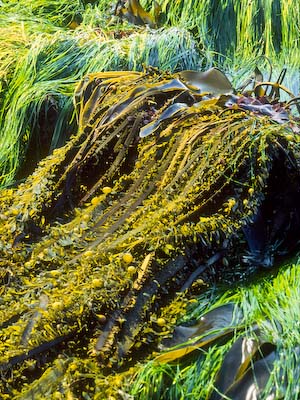
A polarizer works its magic because light reflecting off non-metallic surfaces is polarized to varying degrees. This includes the (blue) sky, and especially wet surfaces. A polarizing filter can turn a sky deep blue, but its most useful effect is its ability to cut glare. Crank one on after a rain shower. It lets us see through to an enhanced color—be it foliage, mud, rock, even bird feathers. It allows us especially to see into still waters.

With a wide-angle lens, the polarizer has a couple limitations. One worry is vignetting, whereby the thickness of the filter causes light fade-off at the corners of the frame. Specially-made thin polarizing filters address this. A bigger issue is the artificial-looking range of blue tones in the sky created as light passes through the filter from the broad angle of view. Instead of a uniform blue tone, a band from light to dark to light again is typical. Sometimes a quarter turn of the polarizer relieves this, but often it’s best handled by removing the polarizer. Shoot an underexposed frame for the sky, and combine and de-lumenate (darken) the sky in Photoshop.If you’re going to buy a polarizing filter, get a circular one, not linear. A camera’s auto-focus—which requires non-polarized light—is messed up by a linear polarizer. A circular polarizer re-scrambles the light just enough to allow auto-focus to function.
One other note: A filter that has expanded usefulness for digital is the solid ND. A digital camera’s minimum ISO often is 100 or even 200, instead of 25 or 50 in film. Scenic photographers are therefore more likely to need help slowing shutter speeds when creating ethereal-looking water or other effects. The polarizing filter—with its two-stop loss—can be an effective substitute here, but solid ND filters go farther, and variable-density solid filters are available with losses to 8 stops.
Gary