I enjoy creating panoramas, but I wasn’t excited about the new Adobe Lightroom 6 (and CC) Merge Panorama feature. I get great results from Microsoft ICE (Image Composite Editor), which creates pans from TIFs or JPGs at a quality better than I generally need. So why change? The case for Lightroom’s Panorama Merge are speed, improved workflow and better quality.
My post-shoot, pre-L6, panorama workflow was to develop pairs of exposures in Lightroom, blend them in Photoshop, export the set as TIFs or JPGs and then merge them in ICE. To finish, I used Photoshop again to best crop the results, after which I imported back to Lightroom to apply a final touch-up (whew!).
![]()
![]()
Quick Tip: To make a panorama from the HDR’s you just created, you first need to select them. Make sure you’re in Grid view in the folder that holds them, then go to the Filter Bar and type –HDR in the Text filter box, with filename as the search criteria. If it’s your first HDR set created in that folder, just the ones you want appear.
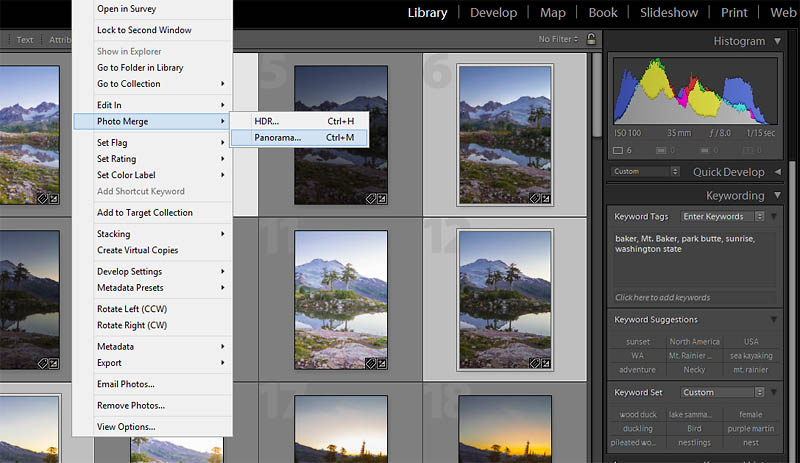
Step two, I select the HDR’s, right-click, and this time select and click Photo Merge-Panorama. The Panorama Merge Preview opens. Clicking Merge begins what could be a long wait. For me, two minutes to process eight sets of three (24) RAW exposures, but you can move on to other actions while you wait. A new, huge, RAW-supported file (if you started with RAWs) is built, with a –Pano tacked on to create the filename. An over-exposed look is again likely, but the information is there, and it is singularly without the dreaded HDR look that sucks the life out of so much HDR.
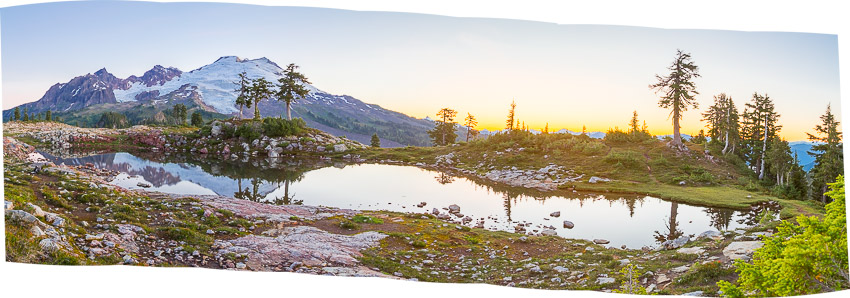
Step three, I take the result into the Develop module. Develop recognizes that the file is a –PANO (HDR). One result is it increases the Exposure latitude from -+5 to -+10. I can’t say that’s useful, but in any case I adjust the pan as I would any RAW image — cropping, modifying exposure, saturation, etc., and applying local Adjustment Brush buttons to darken the sky, enhance certain features or lead the eye. That’s it!
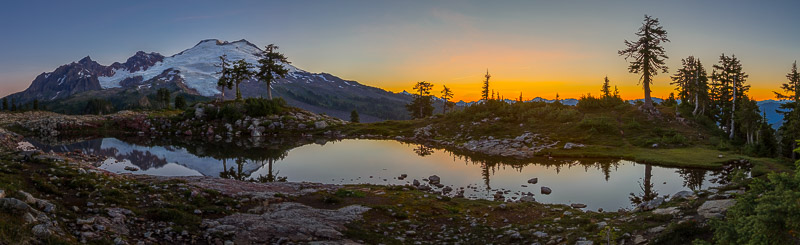
My new Lightroom 6 panorama workflow saves time and effort, with better results than anything I’ve previously used. I’m a convert.