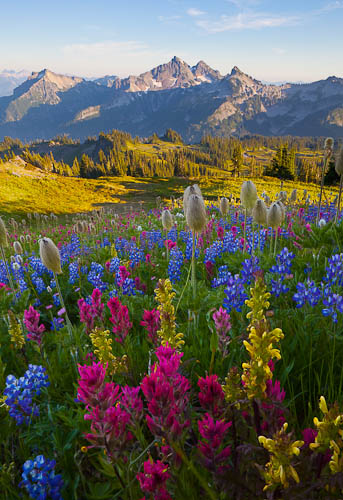
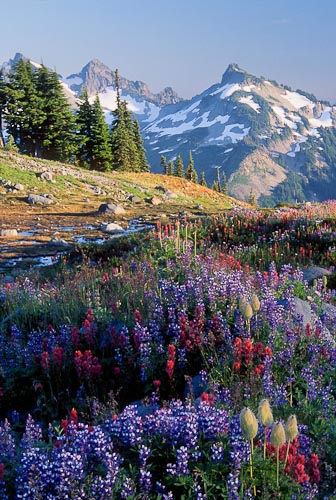
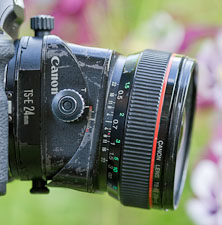
My favorite lens tools for wildflowers are the specialty tilt-shift 24mm and tilt-shift 90mm*, and—perhaps surprisingly—a 500mm f/4. Tilt-shift lenses, from Canon and Nikon, allow lens movements like a view camera, with a tilt feature that’s of great value for wildflower scenics and portraits. With tilt, a turn of a knob on the lens angles the lens glass forward. Sharp focus changes from a plane parallel to the sensor, to a plane that cuts from foreground elements at the bottom of the frame through background elements at the top. The effect is huge depth-of-field sharpness along the selected plane, with elements off the plane thrown wildly OOF (out-of-focus). Tilt also makes it easier to “see” what you’re getting, very useful in composing, without the viewfinder-darkening “stopping down” that’s required of a normal lens (most advanced cameras have a depth-of-field preview button for this purpose). Photographers shooting 35mm get coveted creative control with the tilt and shift.
Use of the 24mm tilt-shift for wildflowers is a no brainer. Classic near-to-far, everything-in-focus scenics with foreground views of resplendent flowers are a 24 tilt-shift hallmark, with obvious utility. Less obvious is using the 90mm tilt-shift for similar purpose. The 90mm is a short telephoto, compressing the perspective, pulling in distant mountain peaks. The beauty of it is the forward tilt that, combined with some stopping down, puts things near-to-far in focus—an impossibility with a normal telephoto lens. I’ve have photographers convinced I had used a wide-angle, because everything was in focus, after viewing images where the 90mm’s forward tilt did the work.
The tilt-shift 90mm is a gem for big scenics, but it really shines for floral portraits. The key is to use the lens wide open, or nearly so, and tilt the lens in a direction parallel to the plane you want in focus. These tilt-shift lenses allow not just a forward tilt but also a rotation of the plane, a sideways tilt at any angle. Remember from geometry that three points make a plane. For a normal lens floral portrait, a photographer sets up perpendicular to a flower, usually to get all the petals in focus, or to line up the petals and floral parts across a single, flat plane—a plane that parallels the sensor. You could say you’re picking three petal “points”, and lining up the sensor plane parallel to that three-point plane. With tilt, you need not line up parallel, and can choose a pleasing flower angle and/or pleasing background to “look” at the flower. Then pick three points on the flower you want in focus. Rotate and tilt the lens in the direction of the three-point plane, stop down just a bit or not at all, and the portrait will be isolated against an out-of-focus, wash-of-color background. This requires some thinking through to get it right, so practice on backyard flowers before heading for summer meadows. Too, you might try this using three small flowers (the “points”), instead of a single one, because it’s then easier to visualize the plane of focus to match with a rotation and tilt. If you haven’t practiced, you may find the technique frustrating in the field.
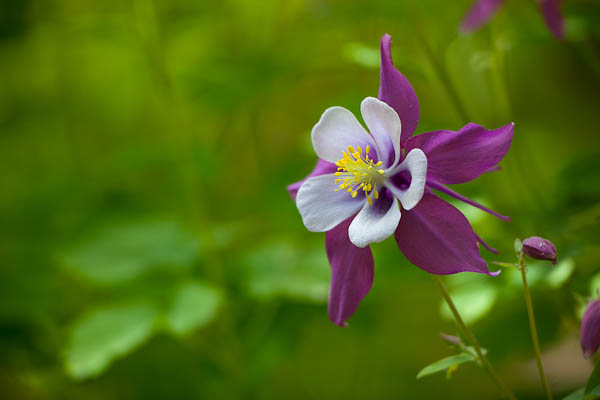
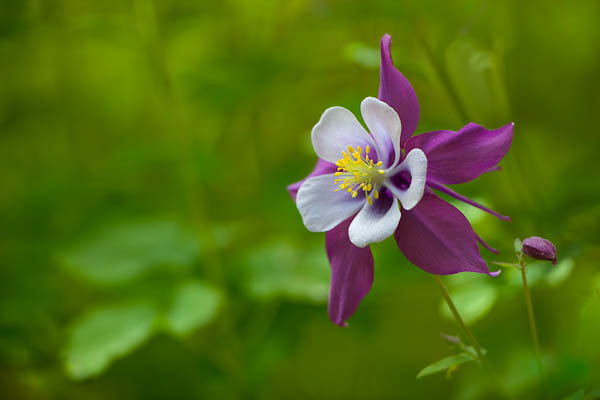
I started shooting wildflowers with the 500mm f/4 back in the film days. Lugging the heavy telephoto can be a burden, but I had my reasons. One was big lens “bokeh”. Another was a different “look”, especially compared to large format imagery. A third was that I didn’t have to step off the trail. For example, on the drive up to Hurricane Ridge in Olympic National Park, wildflowers pack the steep, roadside slopes. Setting up on the shoulder and shooting down or across with the big lens is efficient, and yields a look different from the view-camera or popular macro lens perspective. At least 25mm of extension tube, and sometimes a 1.4x extender, are a must to get the flower big enough in the frame.
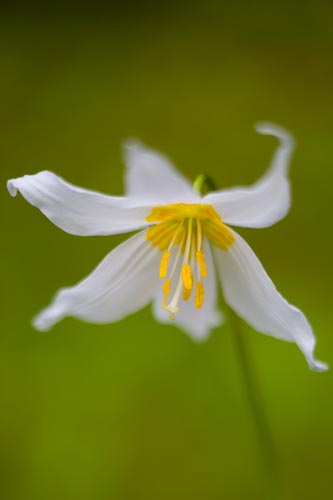
I shot the backyard Columbine portrait shown here with the 500mm f/4 plus 25mm extension, almost at the minimum focus distance. I shot wide open to minimize background distraction. Which brings us to a final tool.
To isolate a flower or blur distractions in-camera, it is often useful to shoot wide-open through a “hole” in green foliage, or to hold or place green leaves to shoot through near the camera for the same effect. The goal is to isolate the flower against or through a wash of green. But unless you’ve got some clamps to hold the foliage, this can be tough to achieve given the long reach of a 500mm lens, compared to say a 90mm or even a 200mm. The working distance is so much closer with a shorter lens. Post-process digital offers an alternate solution. To complete my backyard Columbine portrait, I ducked indoors after capture, and used the Spot Removal and Adjustment Brush tools in Lightroom to, in effect, soften the background and give me a pleasing, “bokeh” portrait.
*Canon has four tilt-shift lenses: 17mm, 24mm, 45mm, 90mm. Nikon had three: 24mm, 45mm, 85mm.
Gary