
Last month I arrived in evening light at the Mirror Lakes reflection pond at Mt. Rainer National Park. True to its name, the quiet little tarn was a mirror, but instead of the Mountain it reflected clouds that surrounded Rainier’s massive girth. I looked about for an alternate photo to salvage the shoot.
August is wildflower season at Rainier, and the wildflowers—normally an adjunct at Mirror Pond and not the main show—were late this year. Delicate Avalanche Lilies lined the shore. I decided to try cramming the Lilies into the foreground. To do so meant getting down to their level, and to do that I needed a tripod that got low.
My backpacking tripod is a carbon-fiber Feisol 3301. It weighs about 3-1/2 lbs when combined with my 13 oz Markins Q3 ballhead. Both have served pretty well for about 5 years. Way back when I purchased the tripod, though, it had a rather long, two-piece aluminum center post that prohibited getting low even with the lower section detached. For stability reasons I don’t like raising the center post anyway, so I shortened the center post to about a 3” length with a hack saw. This also allowed me to splay the legs to get low, but now the tripod height was limited by built-in leg-angle locks that fixed the minimum height at about 6.5 inches. Add to that the height of the ball head and camera and the height off the ground to camera center was 12”—not low enough to shoot up into lilies or poppies with a blue sky behind. So what to do?
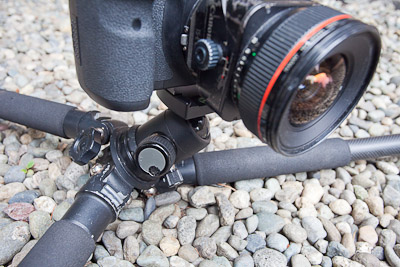
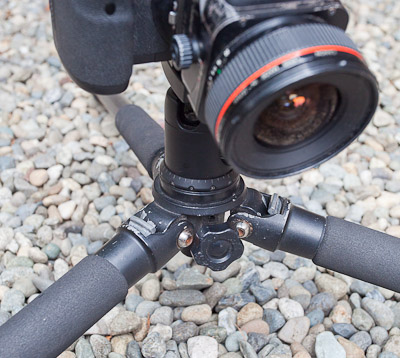
I’m happy with my Feisol and saw no reason to search for a tripod that lies flat (most don’t). Instead, I hit on this solution—remove a leg-angle stop from one of the legs, effectively freeing it to move well beyond parallel to the ground (see image at left). The Feisol tripod legs detach quickly with an Allen wrench. I removed one leg-stop, and re-assembled. The minimum tripod height dropped from 6.5″ to about 2.5″, and because one leg could now be bent well beyond parallel, it’s great for getting the tripod into uneven terrain, like rock outcrops or tidepools. This has become my most common get-low solution.
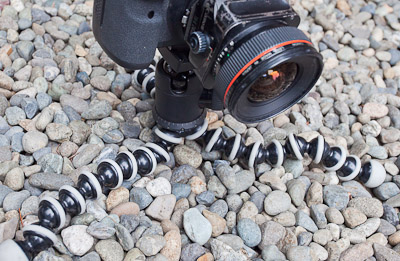
An alternate, light-weight, inexpensive tool for getting low is a sturdy table-top tripod, or a Joby Gorrillapod. I have the Joby SLR-zoom model. The legs flatten to a 1.75” mount height, bringing the camera centerline down to a hair more than 7”. Now that’s getting low.
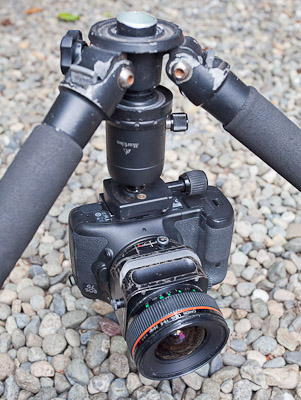
We can do better, though, by reverse mounting the tripod center column. I first tried this in the 90’s. My take then was that it was the dumbest idea ever. In addition to the awkwardness of manipulating the camera, to look through the viewfinder you had to lie on the ground—or more weird—kneel down and bend over so much that to get low enough to see through the eyepiece you mooned the subject. A right-angle viewfinder accessory can help, but when you’re so low, even that’s not much help. Today, however, a new camera tool comes to the rescue. Newer model dSLR’s have a Live View feature so you can compose with the LCD while sitting behind the camera. It’s still awkward to move the camera about until you find a composition that suits you, but by getting really low, this could be the ticket to a really unique shot.
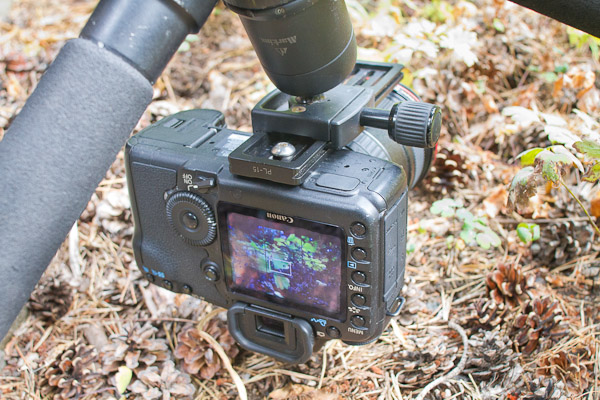
The example photo at the top could have been taken with any of these get low techniques. As it happened, I got it done by removing a leg-angle stop, and used live view as well so I only had to squat down behind the camera to view the LCD.
Gary