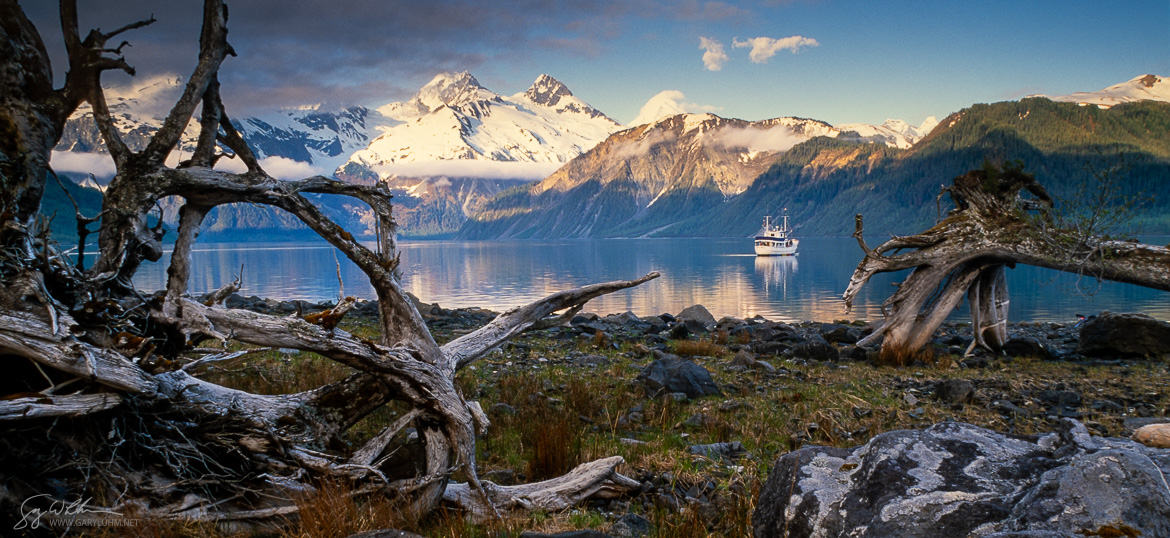
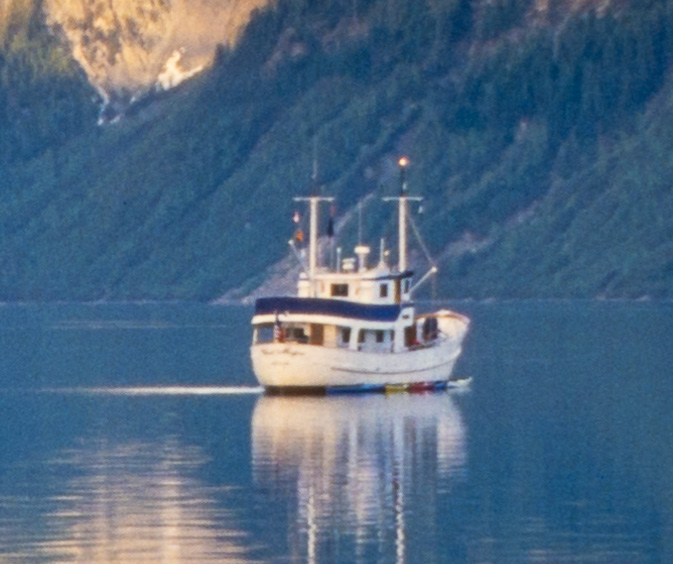
Ursa Major charter yacht in Lituya Bay, Glacier Bay National Park, June, 2002, scan from Fujichrome Velvia.
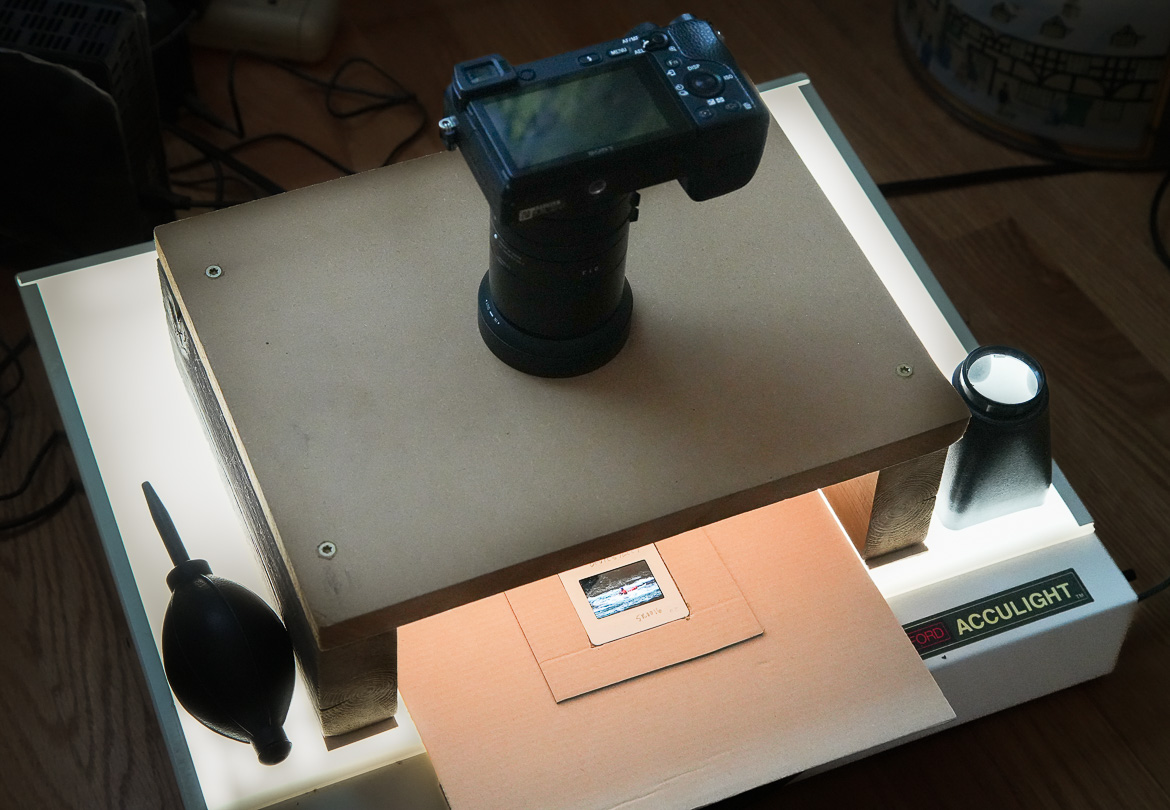
I made the copy stand from scrap 2×4’s and ½” particleboard. The round lens hood of the Sigma 60mm fit perfectly atop a 2” hole drilled in the particleboard, and allowed a bit of wiggle-room to line up each slide. For the slide holder, I used two sections from a cardboard shoebox, cut to slide under the copy stand.
In operation, I blew off dust with a bulb blower, placed the slide in the cardboard holder and the lined everything up on the light table. I set the focus manually using the camera focus-magnifying feature, re-focusing for each shot. This set-up shoots one slide at a time.
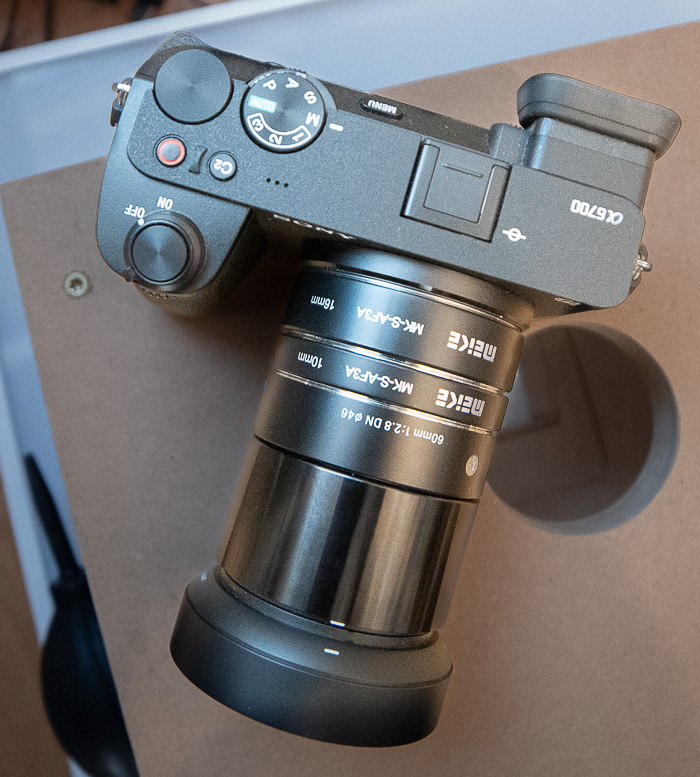
From tests I determined the best camera settings were Aperture (A) set to f8 and ISO 100. F8 got both the center and the corners sharp. F5.6 was sharp, perhaps sharper than f8, but the sharpness fell off a bit at the edges. The Sigma lens is not, after all, a macro lens, which are designed to be sharp throughout a flat surface. At f11 sharpness (resolution) declined due to diffraction. I turned off image stabilization, and set a shutter time-delay to 2 seconds. I shot RAW, so no need to set white balance.
Exposure compensation was adjusted for each shot, and ranged from -1/3rd to +1 stop. Shutter speed varied from .25 to .8 seconds.
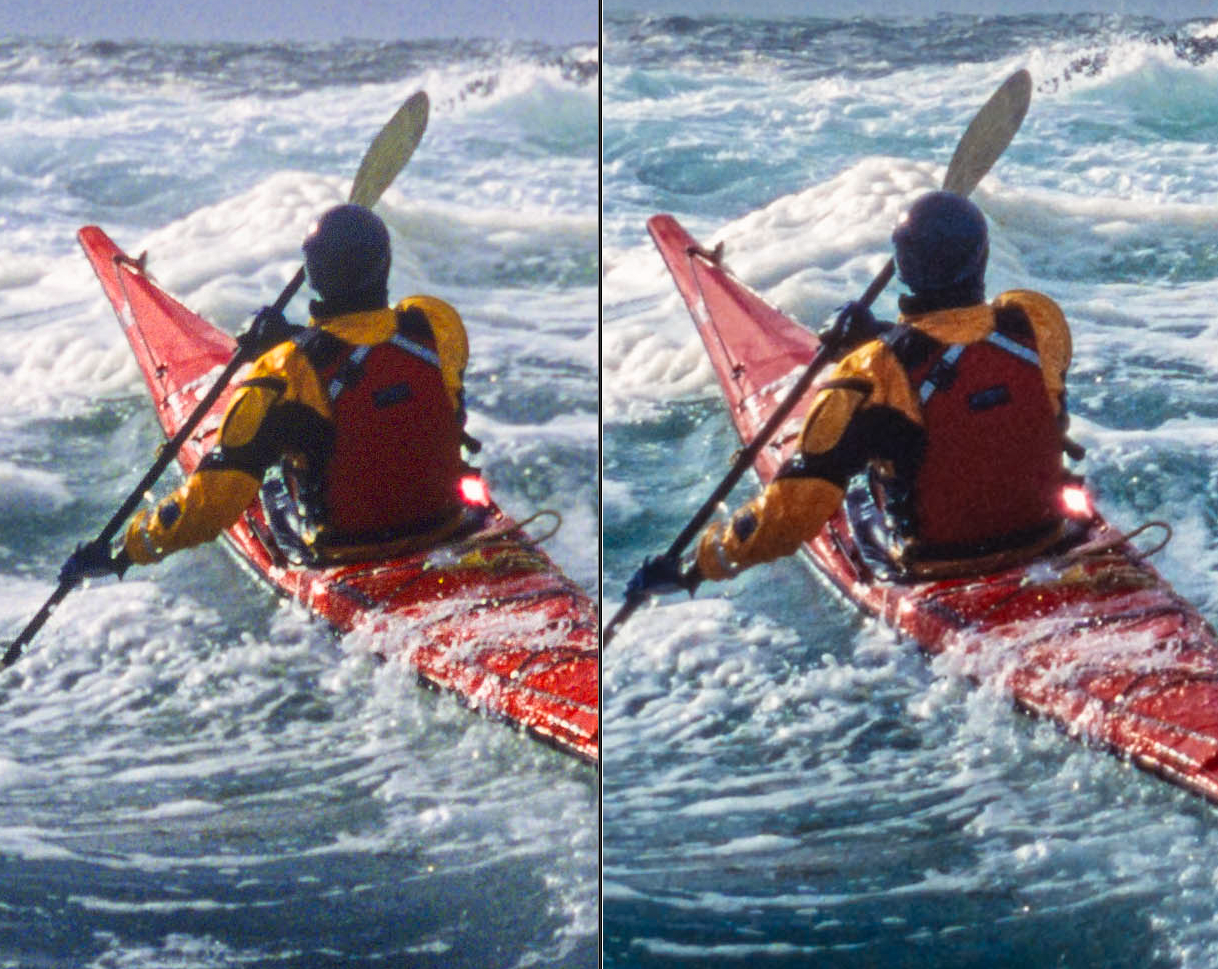
A problem with scanned images in general is they mostly look soft and grainy viewed at 100%. Images I thought were tack-sharp back in the day, well, not really, even though the originals were shot with low-grain Velvia 50 or Provia 100. And this despite the scans looking stunning when viewed un-cropped (after some Lightroom adjustments) on my monitor.
Bottom line: This less-than-perfect set-up equaled or exceeded the scans from a 4000 dpi Imacon scanner, vintage 2001. The 26MP Sony A6700 captured 8% more pixels, with marginally better dynamic range, in a single scan. That said, the improvement is incremental, an indication that scanning has its limits. I think it’s likely that actual, really useful improvements thru scanning alone probably aren’t attainable, limiting print size to roughly 20″ x 13″ to retain decent resolution. A next step would be to use AI (for example Topaz Gigapixel AI) on the scans. Can AI rescue scanned film, just as it seems to do with marginal digital images now, by generating enough information to make much larger prints feasible? For now, I don’t think AI has arrived yet, despite the hype.
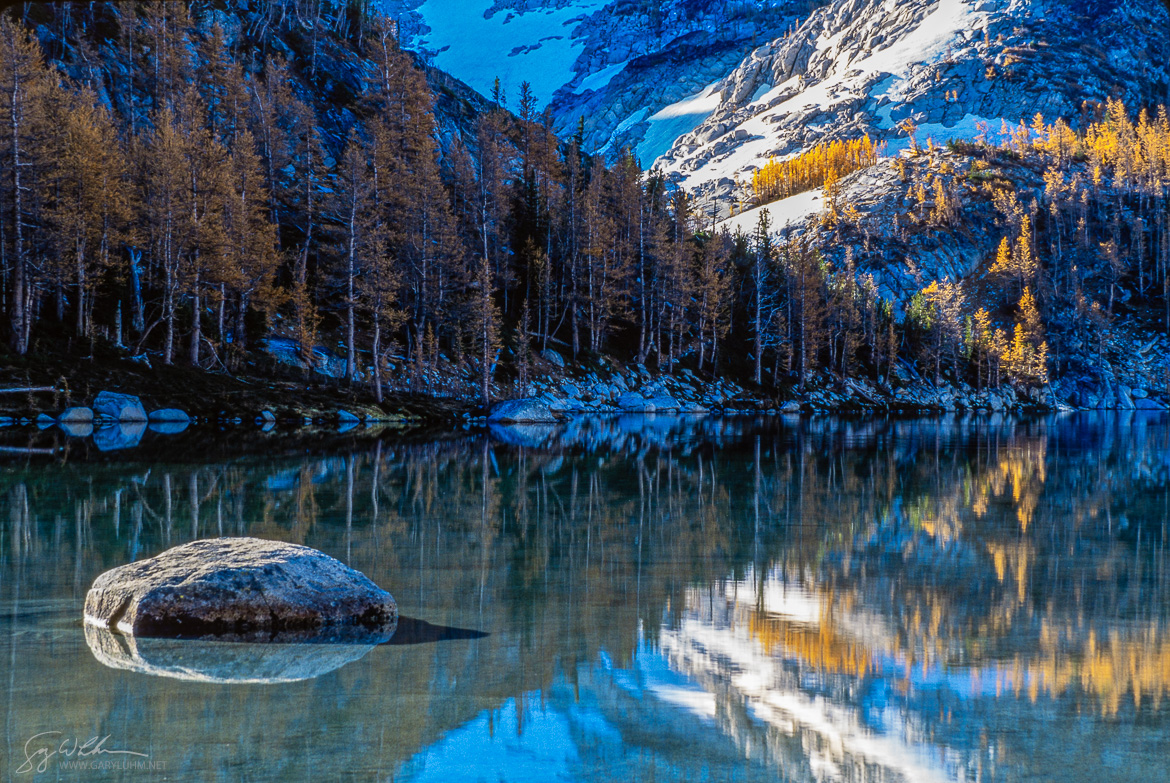
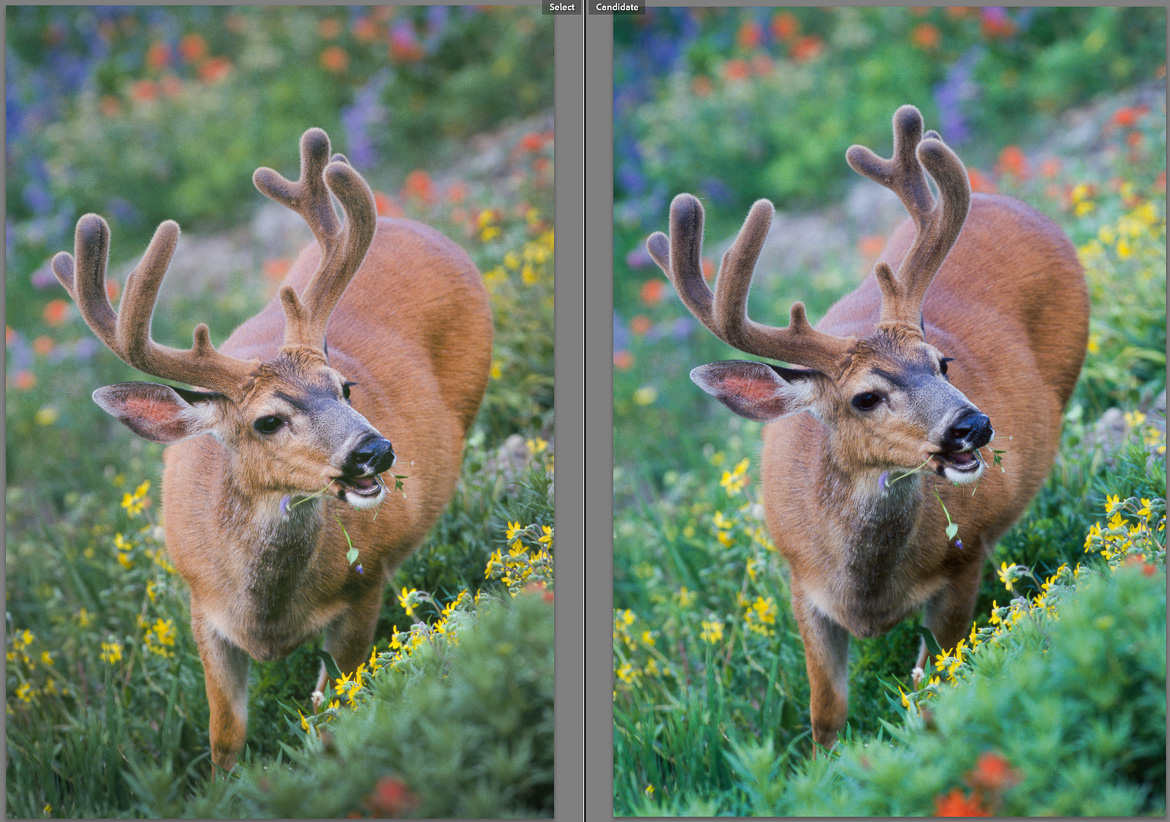
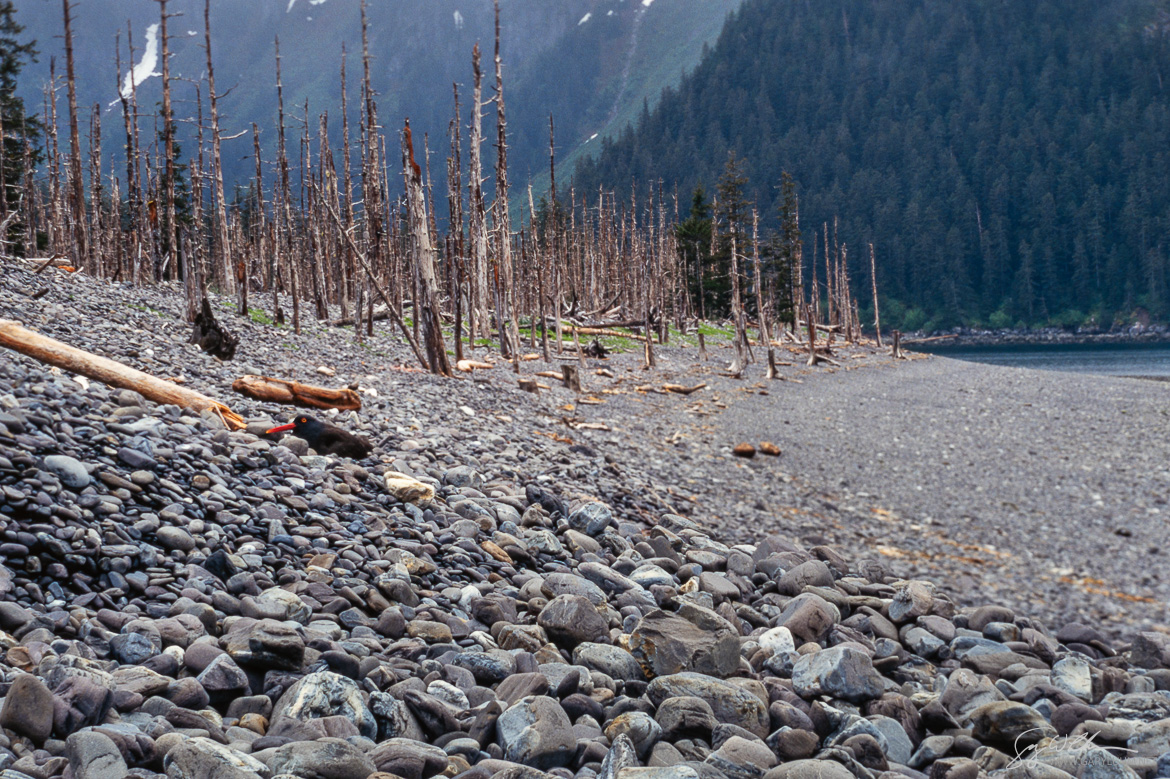
Below are additional scans/comparisons.

Mama don’t take my Kodachrome away-a-a-ay (Paul Simon).
If you have a scanning or AI experience to share, please do so in the comments.
This is great. Thanks for sharing.
If you do the same this winter, let me know how it goes!