The Spot Removal tool introduced in Lightroom 2 was a nice feature, part of set of tools that allowed manipulation of individual pixels on RAW files. Almost coincidently, though, manufacturers introduced dSLR cameras with self-cleaning sensors that worked so well Spot Removal was rarely needed for dust touch-up. I nonetheless use the tool frequently—for wildlife photos to remove distracting twigs, for example, and sometimes, to move whole subjects (usually birds) and thereby enhance a composition. The first instance is a pretty obvious idea, the second less so. Let’s look at both.
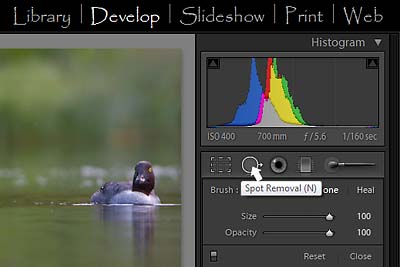
The Spot Removal tool is found in the Lightroom Develop module, to the right of the Crop tool. You can select Clone or Heal, and also the size and opacity. The Clone option feathers in a circular selection from a copy of another area of the image. The Heal option works similarly, but tries to match the texture and color only of the sampled area. I most often use Clone, because oftentimes Heal makes a blotchy compromise in its rendering. Because Spot Removal is circular area only, it’s quite limited compared to Photoshop. To remove a twig in Photoshop you can clone (or heal) a complex shape, or even clone from another image.
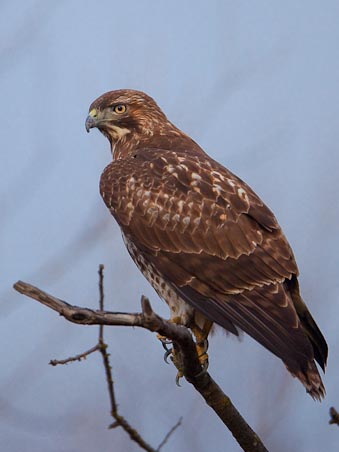
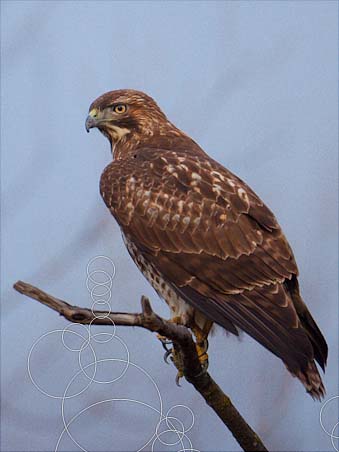
For clutter removal in Lightroom 2, use a series of variably-sized circles to stamp out the offending pixels, as shown in the Red-tailed Hawk example. I find for many instances, this works just fine—no reason to go to Photoshop and its more advanced toolset. While images must be handled case by case, you’ll quickly discover if this solution works or not, and if not then decide if the image warrants creating a derivative file for adjustment in Photoshop.

If you prefer—as I do—to stay in Lightroom, applying Spot Removal to erase a twig (or to move a subject) reduces the number of photos requiring Photoshop. Then I don’t have to create a separate, and larger, PSD or TIF file, and I don’t have the problem of where to store the derived image. It keeps my database leaner. It’s also smart because you’re working directly and non-destructively on the RAW files.
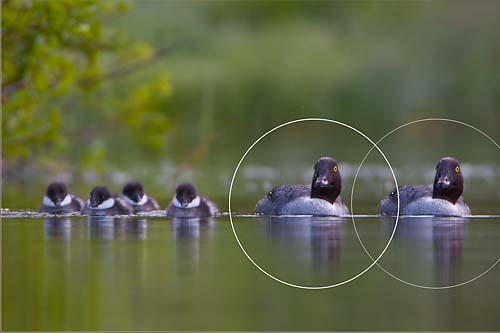
Moving whole objects—as in our second example—with the Lightroom 2 Clone tool is again limited by the circular-area-only constraint, and also by a clone size limit. Nonetheless, I’m always finding applicable situations. I make images on many outings where those darn birds (people, kayakers) don’t cooperate: a male and female teal that perches too far apart, a mallard pair that refuses to fly like the Blue Angels, or—as illustrated here—a Goldeneye hen with day-old chicks already showing independence. Given a plain sky or a blurred background, often a single Clone use stamps the subjects closer together to improve the composition (after cropping to remove the original).
As always, be sure to disclose this type of digital manipulation with your submissions.
Gary