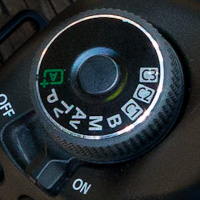
If you haven’t taken advantage of the Canon Custom shooting modes (C1, C2, C3) on your camera’s Mode Dial, you may miss that next great shot, especially those fleeting, unrepeatable or unanticipated opportunities, the kind you forlornly say later “if only . . .”
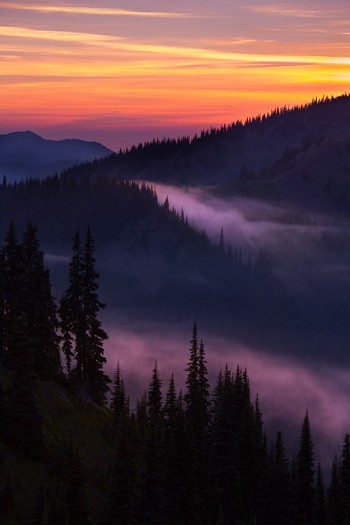
Case in point, I was photographing a sunset at Olympic National Park Hurricane Ridge last month, using settings appropriate for scenics: low ISO, small or moderate aperture, auto-bracketing, mirror lock, self-timer, etc. The camera was on a tripod as well. A buck in velvet strolled through the scene. To include the deer but stop his motion, I now needed a high ISO, larger aperture, no bracketing—and especially no mirror lock or self-timer. I scrambled to change some of the settings, but the mirror lock went unchanged because it’s buried in the menu. By the time I got a shot off, the buck had moved out of my carefully-framed scenic. Had I set up a Custom shooting mode for wildlife, it could have instantly put me where I needed to be, maybe even delivering a five-star shot (I give the one at left a four).
A half-hour later, back at the car, grumbling at the miss, I sat in the light of my headlamp and set up two Custom shooting modes, C1 for landscapes and C2 for wildlife. Lesson learned.
Many of the Canon dSLR’s (not the Rebel series) have Custom shooting modes available. The 40D, 5D II, 5D III have three, the 50D has two, the 60D one. Since I shoot a lot of scenics and a lot of wildlife, those are the two I set that evening. I may add a third one for video later, useful because I often shoot video ex post facto. Making video easier with a Custom shooting mode should help.
Here’s the Custom shooting mode settings I registered:
C1 (Scenics): Aperture Priority at f/11, ISO 100, Image quality RAW, Evaluative metering, Auto-exposure bracketing ON and set 2 shots with a 3-stop increment (minus 2, plus 1), Mirror-lock ON, Drive mode 2-sec time delay, AF mode ONE SHOT, Center focus point, Long-exposure noise reduction AUTO, Auto power off Disable.
C2 (Wildlife): Aperture Priority at f/5.6, ISO 800, Image quality RAW, Evaluative metering, AF mode AI SERVO, Center focus point, Auto power off Disable.
C3 (Open): May set this for video in the future, or perhaps HDR.
Before registering a Custom shooting setting, first set up the camera with all the ideal (or probable) settings for a particular type of shot. Pick settings that work, that give good results, for the shot-type. For example, for scenics I like f/11 because it’s a sharp setting for all my lenses, and has decent depth-of-field. In the above settings list I haven’t hit every parameter, just significant ones. Note that shooting in RAW allows you to ignore a few—like white balance and color space—because you can decide that in post.
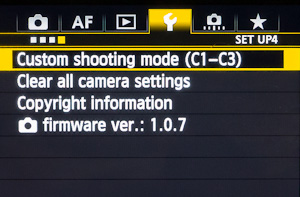
To save (Register) the settings to C1, C2 or C3, go to the Wrench menu and click through the several screens (Custom shooting mode>Register settings>Select the Custom shooting mode>Register camera settings>OK). When done the stored settings for that particular shot-type will be ready for instant recall.
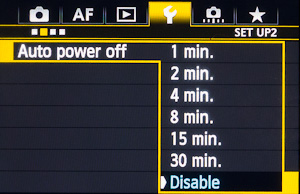
A most important consideration if you’re going to use the Custom shooting modes is the Auto power off setting. For general shooting, I have Auto power off set to 1 minute, so the camera powers down after a minute of idle time, saving battery energy. Be aware that a problem will arise with short power off settings (like 1 minute) while in Custom shooting mode. Invariably you’ll change some settings to fit a specific shot, like changing to f/22 for greater depth-of-field, or raising the ISO for a faster shutter speed. Then if the camera auto-powers out, when you trigger it awake the camera will revert to the registered Custom shooting settings. You lose the recent changes. That’s a minor annoyance if you understand what’s happened and adjust settings before your next shot. If you don’t catch it, though, you’ll be fuming. My solution is to disable the Auto power off when Registering a Custom shooting mode. This creates a new problem—battery drain—if I fail to shut off the camera when I’m finished shooting. I think of this as the lesser evil.
As always, re-set your camera to your most-used, or anticipated, settings at the end of the shoot.
Gary